
Tag: Instructions
Instructions For Wine Making
Posted onMaking home-made wine is a wonderful and easy way to profit from your home grown grapes and all the work you put into growing them. The basic steps for wine making are:
Picking the grapes
Crushing the grapes
Fermenting the juices
Clarifying and bottling the liquid
Aging the wine
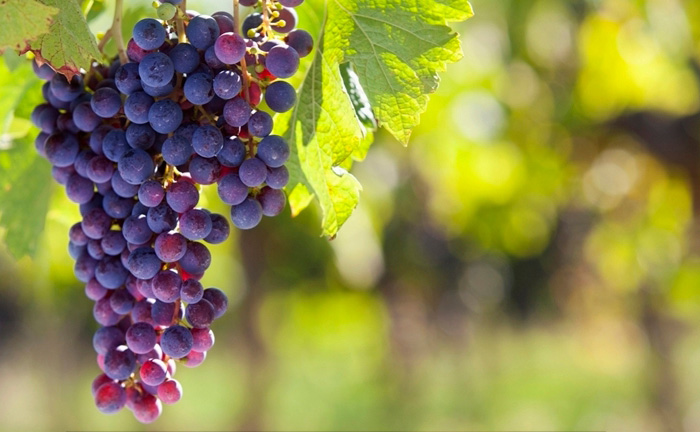
For white wine you use white grapes and for red wine you use red or black grapes. However, you can make white wine from red grapes if you first remove the skin. You might also need to remove the seeds and stems. Each component of the grape, including the stems and the skins, contribute to the aroma and flavor of the finished wine.
Materials:
To make one standard bottle of wine (75cl) you will want about two pounds of grapes. Ten pounds of grapes will yield a gallon of wine. In addition to the grapes you will need a few accessories for making your wine. Visit your local wine-making supply store to find the items or look on the Internet for suppliers. Here is a list of the essential items.
Grapes
Large vat for crushing grapes
Hand masher (or use your hands)
Bottles, corks
Campden tablets
Wine Yeast
Barrel fitted with an airlock
Syphon and carboy (clean and sterilized)
Hydrometer (To measure the specific gravity)
A wine-making kit is the easiest way to get started, and as you progress you might enjoy upgrading your tools as you gain experience in using them. You don’t have to crush the grapes by treading on them. This is a good way to do large productions, but for small productions, mashing them by using a hand-masher (or your hands) will do just as well. Don’t fill the vat too full because the grapes will foam and froth as they ferment. When the grapes are mashed, leave them for a day or two before beginning the fermentation. Campden tablets are used to prevent wild yeast from growing during this stage.
Proper wine yeast should be used, not bread yeast, because the flavor is quite different. Stir in the yeast by hand, cover the vat and leave the wine to ferment for about a week. At the end of the week you can strain the wine. The bubbling and boiling effect should have subsided before you strain the wine and throw away the pulp. Pour the liquid into a barrel with an airlock so that carbon dioxide, which forms as the wine ferments, can escape. The wine should be protected from exposure to the air at this stage or it will oxidize and won’t be good for drinking.
Over the next two to three years, sediment will fall to the bottom of the barrel and the liquid will turn clear. After about three weeks the wine is ready to “rack” or siphon into the carboy to remove the clear wine from the sediment. The carboy should be sterilized to prohibit the growth of bacteria. Siphon the wine every couple of months as the wine ages. When you notice there is no fresh sediment, and the liquid is perfectly clear, the wine is ready for bottling. Another test is to check the specific gravity with a hydrometer. It should be below 1.000.
As you can see winemaking is quite easy. Making truly fine wine, however, is an art as well as a science. Aging your wine a few more months in the bottle will improve the flavor, but once it is bottled, you can basically begin drinking it.
popular posts
-

Know More About Popular Wines
1-30 2023Red wines have been around for ages now. They are available in so many varieties. While some of these varieties are absolutely light and Read More
-

How To Choose Wine?
1-30 2023What is a wine? It is an alcoholic beverage, typically made of fermented grape juice. When we think of wine, we think of grapes. Read More

